


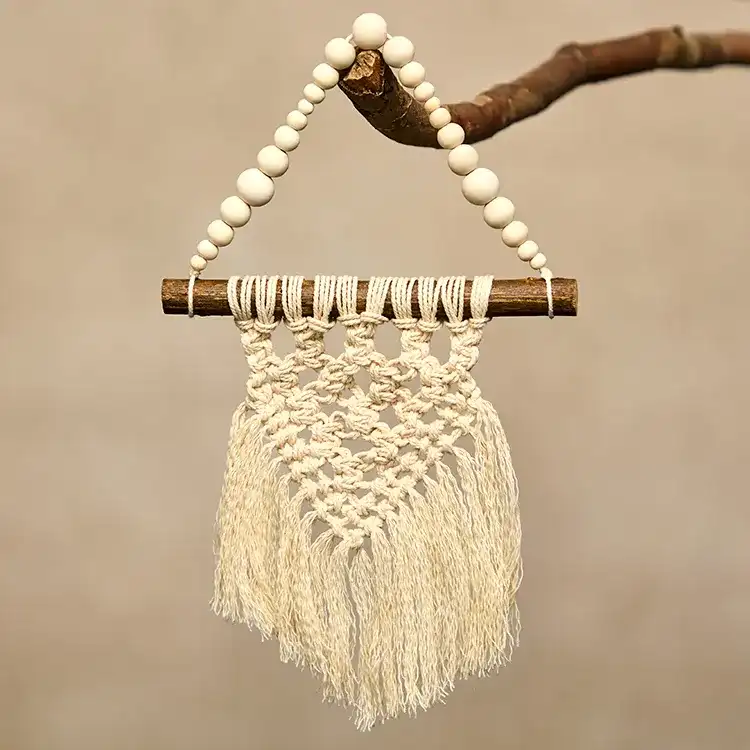

How to Make
Step 1

Cut 20, 85cm lengths of cotton string. Double these up and attach them onto the branch with lark’s head knots. (Treat the doubled-up cotton string as one cord, working left to right, this is so the project is bigger in size).
Step 2

For the first row of knots, create 2 square knots using the first 4 cords (refer to the template) do this for the rest of the row.
Step 3

For row 2, skip the first and last 2 cords, again doing the 2 square knots with each 4 cords you get to in the row. Carry on this pattern for the next 3 rows, by reducing by 2 cords each row. (e.g. row 3 skip the first and last 4 cords).
Step 4

Once you have made the chevron shape with the square knots, take the first 2 cords and begin working down with 2 double half hitch knots, encasing each cord. Work down the other side by reversing the double half hitch knot (see template). Once you get to the middle do a normal double knot to finish!
Step 5

Trim the cords, separate the cotton string and brush out with a comb to create a fluffy effect.
Step 6

Create a hanger by tying a piece of cotton string to one end of the branch, threading on some wooden beads and tying it to the other end. Trim the excess string and add a dot of glue to the knot to seal it in.




Share
×You can copy this link into emails, text messages or post on social media.
Share now