Skill Level
Beginner
Time to Make
45 minutes + drying time for the clay
Adult Supervision Needed
Yes
How to Make
- Break off 1/3 pack of clay, then seal the remaining clay in the pack inside a polythene bag so it doesn’t dry out. Shape the clay into a smooth ball. Working on a wooden board, tile or baking tray, flatten the clay with a roller to about 5-6mm thick.
- Draw the hen outline with a cocktail stick or a pointed tool, then cut around the line with a knife, or use a flat modelling tool. Smooth the edges of the clay with your fingers. Smooth around the crest and beak so the shapes are well defined.
- Cut out a wing shape from the rolled clay. Make some small score lines in the middle of the hen with a modelling tool with some water over the top. Carefully lift up the wing shape, score a few lines on the back then press it in position on the hen. Smooth around the edges of the wing with your fingers.
- Press a feather pattern onto the wing, tail and crest using curved strips of card, or a straw cut down the middle for the smaller C shaped patterns.
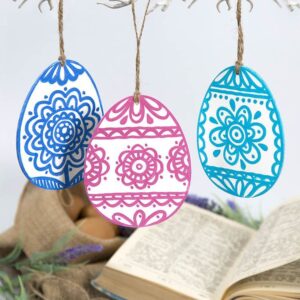
- Cut an egg shape from the remaining rolled clay, adding more water if it has started to dry out. Press a simple design into the egg using a card strip and a straw to make circles.
- Make holes in the hen with a cocktail stick at the top and bottom of the body, and another hole at the top of the egg. Wiggle the cocktail stick to make sure the holes have opened out on the reverse side.
- Leave the clay pieces to dry overnight then carefully turn them over and leave to dry for another day. Depending on the temperature it may take 24-48 hours for the clay to fully dry.
- When the clay is dry, lightly sand over the surface and around the edges. Mix a grey colour for the hen’s body and brush it over the clay. Paint the crest and the egg then leave to dry. Brush black paint into the patterns and lines on the clay and paint the eyes. Leave to dry.
- Lightly sand over the paint to partially remove the top layer. This should leave black lines highlighting the patterns, with some of the clay colour showing through the coloured areas.
- Thread some twine through the holes so the egg hangs underneath the hen. Tie a longer piece to the top of the hen to hang up the completed decoration.


Top Tip
Acrylic paints can be mixed together to create more muted shades. Try white mixed with tiny amounts of brown and blue to make a grey colour for the hen. Red mixed with brown gives a darker crimson.