
Skill Level
Beginner, Intermediate
Time to Make
30 mins
Adult Supervision
Yes
FREE Template

How to Make
Step 1

Lay the shrink plastic over the template and tape into place if needed. Colour in the shrink charm using deco pens on the rough side.
Step 2

Cut out the charm and shrink according to the instructions.
Step 3

Cut a length of elastic and attach one side of the safety breakaway clasp, then thread the pony beads on.
Step 4

Add pearls and continue until you reach your desired length, then finish with the other side of the safety clasp
Step 5

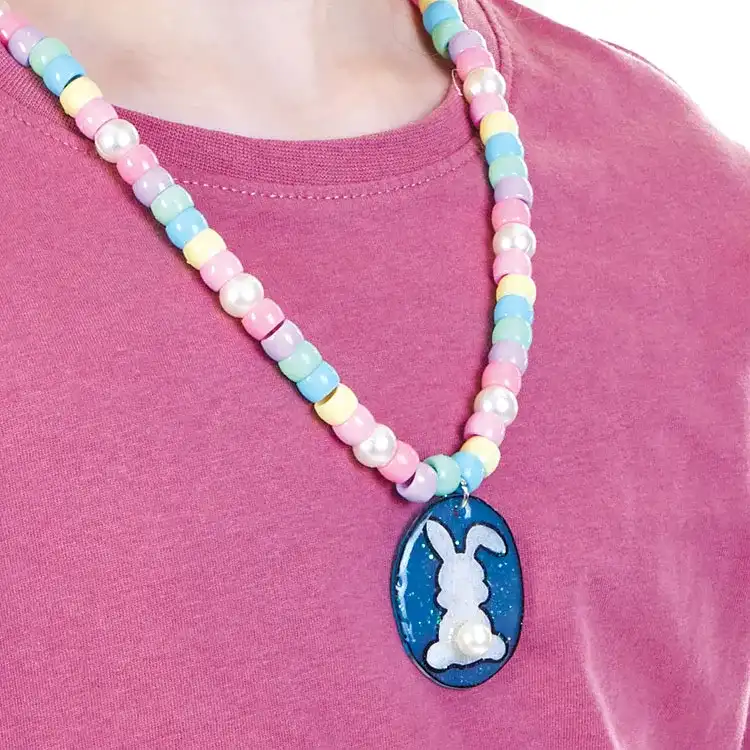
Varnish and sprinkle the charm in glitter.
Step 6

Add a pearl tail and then leave to dry. When this has been achieved, attach the charm to your necklace.


Share
×You can copy this link into emails, text messages or post on social media.
Share now