
Skill Level
Intermediate, Advanced
Time to Make
1+ day
Adult Supervision
Yes


How to Make
Step 1

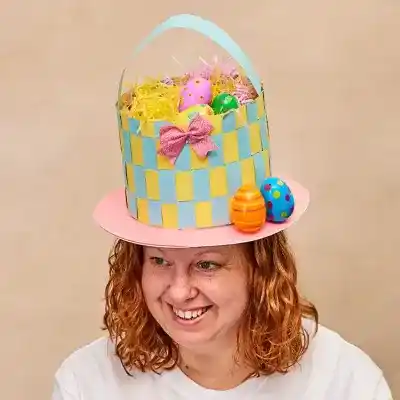
Begin by assembling your Easter bonnet. Fold down the hat tabs and glue them to secure.
Step 2
Take four polystyrene eggs and paint them in pastel colours. Set them aside and allow them to dry completely.
Step 3

To make the large tissue paper flowers, cut six squares of tissue, each measuring 11 cm × 11 cm. Stack the squares, then fold them back and forth in a concertina style. Wrap a short piece of wire tightly around the centre of the folded tissue to hold it in place.
Step 4

Shape the petals by trimming the ends of the concertina into points, feathered edges, or rounded tips. Once trimmed, carefully open out the folds and separate each layer of tissue to form a full flower. Snip away any extra wire at the base.
Step 5

For the smaller flowers, cut smaller tissue squares. Fold each piece into a triangle, then cut a petal shape along the open edge. Unfold the tissue, pinch it at the centre to create a flower shape, and set aside.
Step 6

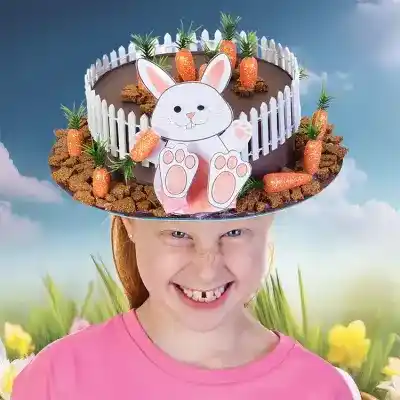
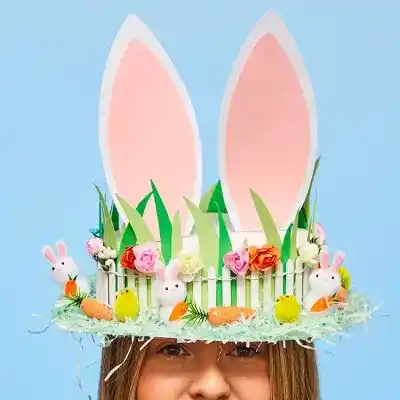
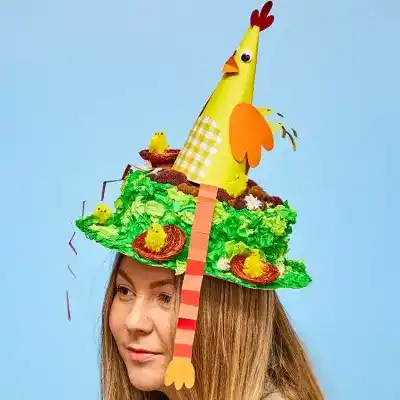
Now it’s time to decorate! Start by gluing handfuls of Easter grass onto the bonnet. Arrange and glue the painted eggs into the grass, then fill the spaces with your tissue flowers. For a fun finishing touch, add fluffy chicks around the hat to complete your festive floral Easter bonnet!


Share
×You can copy this link into emails, text messages or post on social media.
Share now