


Skill Level
Intermediate
Time to Make
1 hour
Adult Supervision
Yes

How to Make


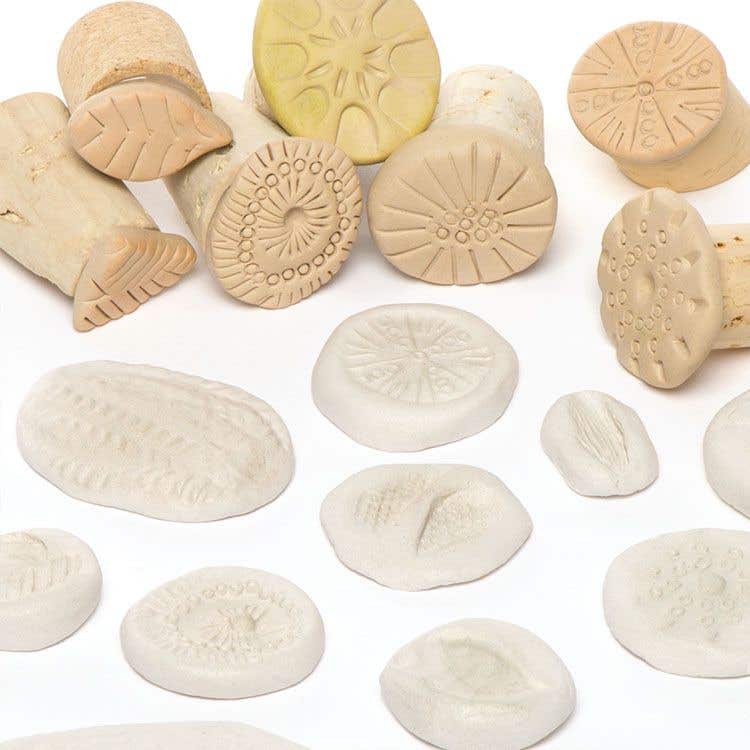
- Create your stamps using balls of clay moulded into your desired shape. Roll over the top of them gently with a rolling pin to ensure the surface is as flat as possible before you start making your patterns.
- Press patterns into them with toothpicks, cutlery or buttons to create a variation of stamps. Decorative buttons work well, as do the end of a teaspoon to create petal like semi circles. Experiment as you go, as you can always roll your clay back into a ball and start again.
- Allow to air dry following instructions.
- Use a glue gun to attach the stamps to the cork tops. These will be the handles and will help you press them into the surface of your clay.
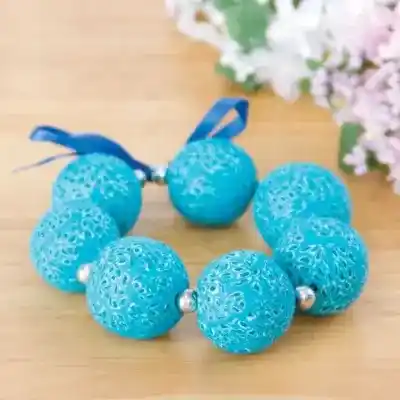
- Use the stamps to create patterns on a variety of clay projects, such as decorative tiles and plates, or on smaller pieces to create buttons and beads for jewellery.




Share
×You can copy this link into emails, text messages or post on social media.
Share now