Skill Level
Beginner. Adult supervision needed
Time to Make
1.5 hours
Adult Supervision Needed
Yes
How to Make
- To make the ring, draw a 9cm circle on the reverse (white side) of some gold card then cut it out. You could use a cup or large lid as a circle guide, or use a compass. Draw a small circle 2cm diameter near the edge of the circle then cut it out.
- To make a two-colour metallic effect on the ring, cut out another matching circle in silver. Cut it in half then glue one piece over the gold circle. Cut the small circle after the gold and silver have been glued together.
- To make 2 snakes, birds, or another animal shapes for the design, cut out 2 pieces of 10cm x 12cm metallic card, use gold, silver or one piece of each. Draw a simple outline shape onto the reverse side (white side) of one piece then cut it out. Turn the shape over so the the shiny side faces up then place it onto the reverse (white side) of the other card piece. Draw around the edge then cut out the second shape, making 2 pieces facing in opposite directions. To make 2 fish, use smaller-sized pieces of card 5cm x 8cm, to make symmetrical shapes.
- Use a ballpoint pen to emboss a pattern into the surface of the animal shapes. Press the pen firmly into the surface to make eyes, wings or other decoration.
- Brush black paint over the embossed shapes and the ring. Before the paint dries, rub it off with paper towel. The paint will highlight the embossed patterns and makes the card less shiny. Leave to dry.
- Use a black deco pen to outline the ring and the 2 shapes with lines or details to define the animals. Add self-adhesive gems for the eyes.
- Glue the animal shapes onto the ring into a symmetrical design, they could face either inwards or outwards.


Top Tip
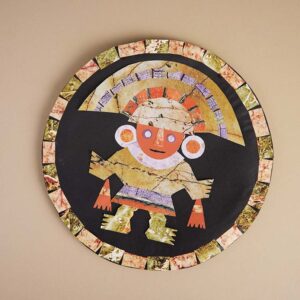
Keep the cut out shapes simple with details added in black pen. Look at images of Peruvian metalwork or jewellery as inspiration for making your own designs with animal shapes.
Tagged with:


