Skill Level
Beginner
Time to Make
2 hours + drying time for clay, paint + varnish
Adult Supervision Needed
Yes
How to Make
Use a wooden or plastic board as a work surface, or a sheet of polythene.
- Break off a piece of clay from the block, 4-5cm in diameter. Fold the packaging over the remaining clay then put it into a polythene bag so it doesn’t dry out.
- To make a bead, pinch off a tiny amount of clay then roll it between the palms of your hands to make a smooth 2cm ball. Roll the ball with your fingers to elongate the clay into in oval bead shape. Roll the bead on your work surface to flatten the sides.
- Carefully make a hole in the end of the bead with a cocktail stick, push the stick all the way through the bead. Handle the clay gently to keep the shape then wiggle the stick to make the hole slightly wider.
- Thread the bead onto a wooden skewer or use a thin wooden garden stick. Rest the ends of the skewer across a bowl, or prop it up another way so the bead isn’t touching anything and it dries.
-
Make more beads in different sizes until there are enough for a necklace, 20-30 beads.
For a big bead make a 2.5cm ball, for a medium sized bead make a 2cm ball, for a small bead make a 1.5cm ball.
To make more beads, break off another piece of clay from the block. It’s better to work with small quantities of clay so it doesn’t dry out.
If the clay feels dry as you shape them, add a small amount of water with your fingers.
As you finish each bead, thread each one onto a skewer to dry. Use 2-3 skewers to space out the beads so they aren’t touching. -
Leave the beads to dry thoroughly (48 hours) then carefully pull them off the skewer.
Use sandpaper to smooth any rough surfaces on the dried beads. The easiest way is to tape a piece of sandpaper on your work surface then rubbing the beads on top.
Cracks can be filled with new clay then dried out, or these can be left as part of the appearance -
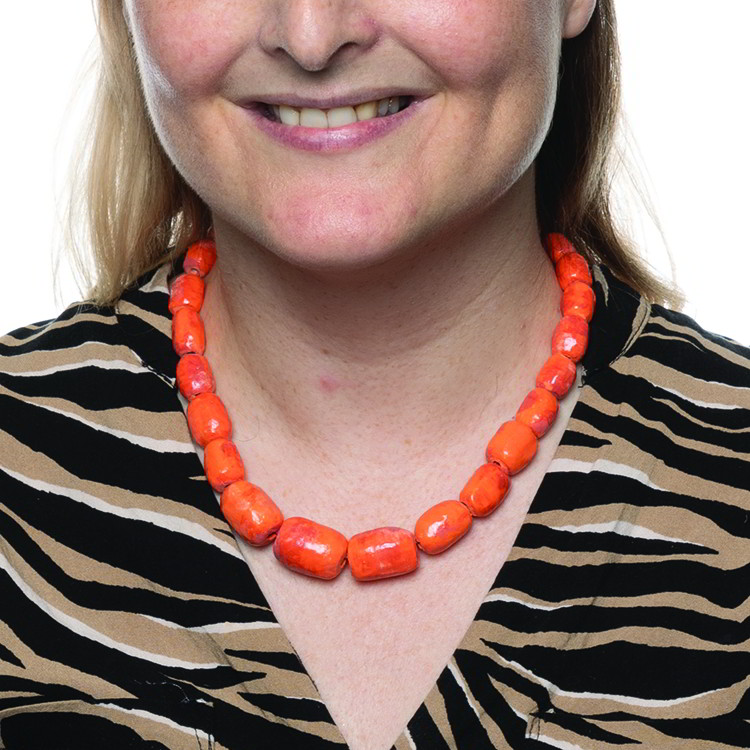
To paint the beads, thread them back onto the skewers. Mix a coral colour from orange with a small amount of pink and white. Brush the beads with paint until they are covered.
Leave to dry with the skewers propped across the bowl.
For a more realistic effect, try lightly brushing the beads with a darker or lighter colour over the coral paint. - Brush varnish over the beads and leave to dry.
- Cut a 60cm piece of elastic. Sort the different sized beads then arrange them in a row on your work surface ready for threading. Thread the beads then tie elastic ends in a secure knot.


Top Tip
It takes around 25-30 beads in different sizes to make a necklace. To vary the design, try making a longer necklace with more beads for a double or triple wrap, or a smaller version as a bracelet. Always keep the clay block wrapped in a polythene bag. Allow at least 48 hours for the clay beads to dry before painting them.
Tagged with:

