Skill Level
Beginner
Time to Make
1 hour
How to Make
- Place 2 cardboard craft wreaths together with the holes lined up, then tape them together. Tape all the way round the inner circle then paint the inside edge black, as this area may be visible when the wreath is finished.
- Tie some twine through the holes in the wreath. Tie a knot to make a loop.
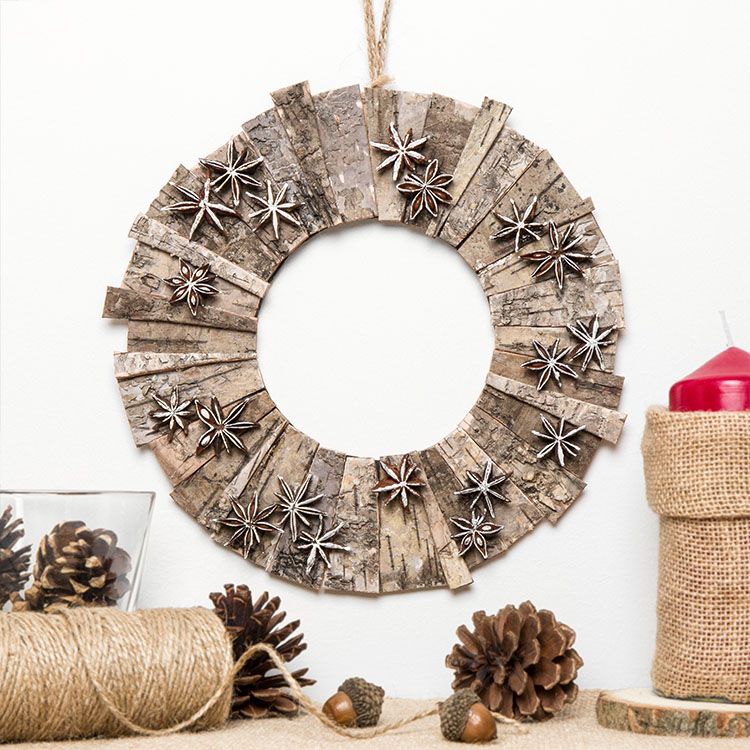
- Cut some bark squares into wedge shapes, 1cm at one end and 4cm at the other end. Trim the wedge into 6cm lengths.
- Check there are enough bark pieces to cover the wreath, you will need around 24 pieces altogether. Glue the bark pieces onto the wreath with the thin ends towards the middle. If there are any gaps, add some extra thin pieces of bark. Leave to dry.
- Use a piece of sponge to lightly add white paint to some star anise. Glue onto the wreath.


Top Tip
Vary the sizes and shapes of the bark wedges slightly to give the wreath a less uniform look. Thinner bark squares with a smoother texture are easier to cut and stick.


