Skill Level
Intermediate
Time to Make
1 hour + baking and cooling time for Fimo clay.
Adult Supervision Needed
Yes
How to Make
- For the head, shape a 1.5cm ball from flesh coloured Fimo. Shape a 2cm ball for the body, flatten it slightly into an oval then press it underneath the head. Place the head and body flat onto a tile or baking tray. Shape 2 flesh-coloured arms and press them onto the body.
- For the tail, twist 2 strips of 2 different Fimo colours together to make a long shape with a marbled pattern. To make the stripes thinner or to blend the colours twist and knead the FImo a bit more. Break off a small piece and set it to one side. Shape the main piece into a 6cm cone shape then press the thick end onto the body with the thinner end curled up.
- Shape the left over piece of Fimo into a tail fin. Make a bow shape to cover the top part of the mermaid’s body. Press them into position.
- With the mermaid still lying down, add some thin Fimo strands around the face for hair. Press a tiny ball in the middle of the face for a nose. Make 2 dots for eyes with a cocktail stick and a mouth using the end of a straw cut in half.
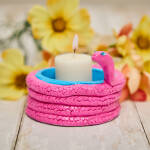
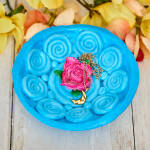
- Model a rock from 3 Fimo strips, blending white and black to make grey, or use different colours. Place the rock onto a baking tray or glazed so the base flattens. Add yellow Fimo around the sides for sand. Check the base is no more than 5cm across.
- Carefully lift up the mermaid and press in position on top of the rock. Add a few more strands of hair to the back of the head. Add some colourful coral around the base. Check the width of the model again to make sure the jar will easily fit over the top. If the model is too wide for the jar or if there are any pieces sticking out, adjust their positions or cut off some Fimo around the base with a modelling tool.
- Bake the Fimo mermaid at 110C for 30 minutes in a pre-heated oven, following the instructions on packet. Allow Fimo to cool and before handling.
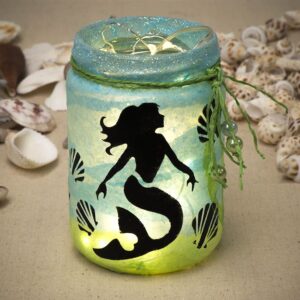
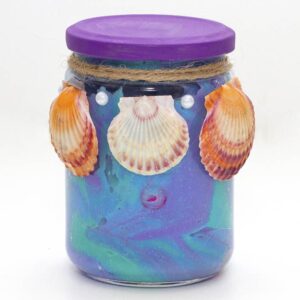
- Glue the base of the rock onto the jar lid in the middle, positioning it centrally. To securely fix the model onto the lid, use a glue gun or a waterproof epoxy glue. Leave to dry. Tiny real shells can be glued to the model as extra decorations.
- Fill the glass jar with water, to about 3cm from the top. Add about a tablespoon of glitter and 2-3 teaspoonfuls of glycerine. Glue around the neck of the jar and screw the lid on straight away, with the mermaid upside down. If you are using a glue gun, attach the lid very quickly before the glue sets and check it is securely fitted.


Top Tip
It's easy to mix Fimo kids clay by blending different colours together. Knead until the colours are evenly blended, or twist and roll the FImo to make a marbled effect. To help support Fimo models in the oven, you can use pre-baked pieces of left over Fimo. These hardened pieces can be used repeatedly and are useful for propping up any part of a model, like the mermaid's arms or at the back.