
How to Make
- Place a large piece of cotton down on which you will roll your clay. Place a guide on either side of the clay block and start to slowly roll the clay out, turning over regularly to ensure an even roll. Keep rolling and turning until you reach your desired size and depth. 1 cm depth will work best with this air dry clay and carving technique.
- Create your design on tracing paper. Create something unique or use old wallpaper/ wrapping or copyright free designs as inspiration.
- Place your design on top of your clay tile. Using a different colour (sharp) pencil or biro – so that you can see which part of the design you have transferred, carefully draw over your lines with enough pressure that the design is transferred onto the surface of the clay. You can peel this back to check.
- Once you have transferred all of the design over and remove the tracing paper. allow to dry for a few hours until the clay is a little firmer to touch. This will make the carving motion easier, producing cleaner lines.
- Start carving out the design using clay carving tools if you have them, or you can simply make your own by taping the curved part of a paper clip taped securely to the end of a pencil.
- Once complete, trim the edges to your desired shape using a ruler and knife.
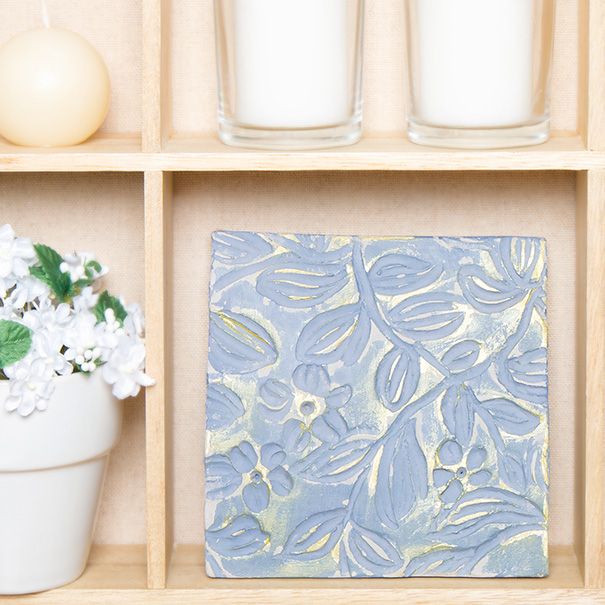
- Once dry paint with chalk paint. Use a nail file to gently sand back areas to create an aged effect.
- Use the back of a spoon to burnish the reverse of the tile, giving it a smooth shiny effect.